What is Harbor
VMware Harbor repository is an enterprise-class registry server that stores and distributes container images. Harbor allows you to store and manage images on-premise environment.
Pre-requisite
Docker: for docker installation, please refer to ‘Install Docker‘ Part in previous article.
Install docker-composer
Install and upgrade python-pip
yum -y install python3-pip python-devel python3
pip3 install --upgrade pip
optional: set up pip source. if you have better network speed to official source, you can skip this step.
vim ~/.pip/pip.conf
update following info
[global]
index-url = https://pypi.tuna.tsinghua.edu.cn/simple
[install]
trusted-host = https://pypi.tuna.tsinghua.edu.cn
install docker-compose
pip3 install docker-compose
ln -s /usr/local/bin/docker-compose /usr/bin/docker-compose
Install Harbor
Download Harbor from https://github.com/goharbor/harbor/releases and extract to /opt folder
tar -xzf harbor-offline-installer-v1.9.2.tgz
mkdir /opt/harbor
mv harbor/* /opt/harbor
change the hostname in harbor
cd /opt/harbor
vi harbor.yml

hostname: 192.168.1.13
Configure HTTPS for Harbor
Create CA
mkdir /root/ca -p
cd /root/ca
openssl req  -newkey rsa:4096 -nodes -sha256 -keyout ca.key -x509 -days 365 -out ca.crt
Common Name (eg, your name or your server’s hostname) []:192.168.1.13
create self-signed certificate
openssl req -newkey rsa:4096 -nodes -sha256 -keyout 192.168.1.13.key -out 192.168.1.13.csr
Common Name (eg, your name or your server’s hostname) []:192.168.1.13
Generate certificate
echo subjectAltName = IP:192.168.1.13 > extfile.cnf
openssl x509 -req -days 365 -in 192.168.1.13.csr -CA ca.crt -CAkey ca.key -CAcreateserial -extfile extfile.cnf -out 192.168.1.13.crt
move cert/key to cert folder
mv 192.168.1.13.crt 192.168.1.13.key /opt/cert
Edit harbor.yml to update hostname, HTTPS section. part of the harbor.yml
# The IP address or hostname to access admin UI and registry service.
# DO NOT use localhost or 127.0.0.1, because Harbor needs to be accessed by external clients.
hostname: 192.168.0.109

# http related config
http:
  # port for http, default is 80. If https enabled, this port will redirect to https port
  port: 80

# https related config
https:
#   # https port for harbor, default is 443
   port: 443
#   # The path of cert and key files for nginx
   certificate: /opt/cert/192.168.0.109.crt
   private_key: /opt/cert/192.168.0.109.key

# Uncomment external_url if you want to enable external proxy
# And when it enabled the hostname will no longer used
# external_url: https://reg.mydomain.com:8433

# The initial password of Harbor admin
# It only works in first time to install harbor
# Remember Change the admin password from UI after launching Harbor.
harbor_admin_password: Harbor12345
Install harbor
/prepare
./install.sh
Start, stop and restart Harbor
docker-compose up -d
docker-compose stop
docker-compose restart
Check and access Harbor
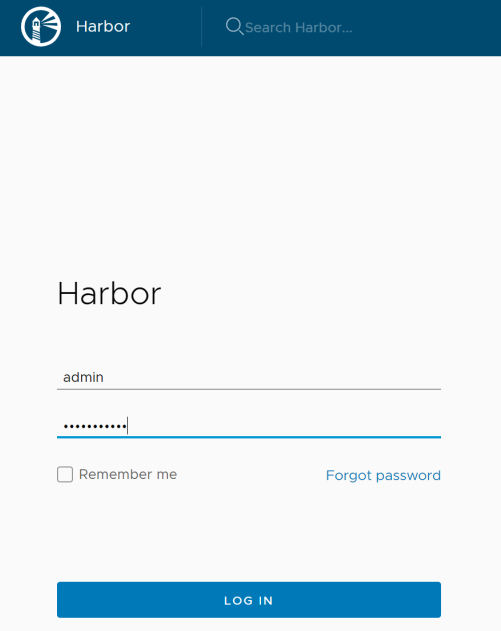
login the harbor with the username and password that you define in the Harbor configuration file.
Create project and username in Harbor
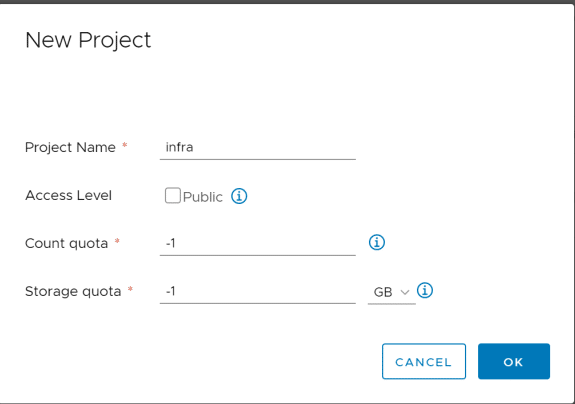
Harbor has two types of project:
Public: all users can access this repository, it is used for storing public images.
Private: only authorized users can access the repository.
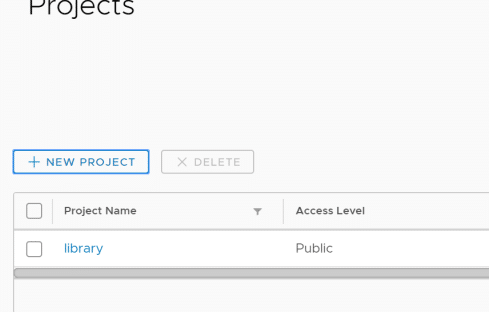
Click new project to create new one
Enter project nama, access level, and quota.
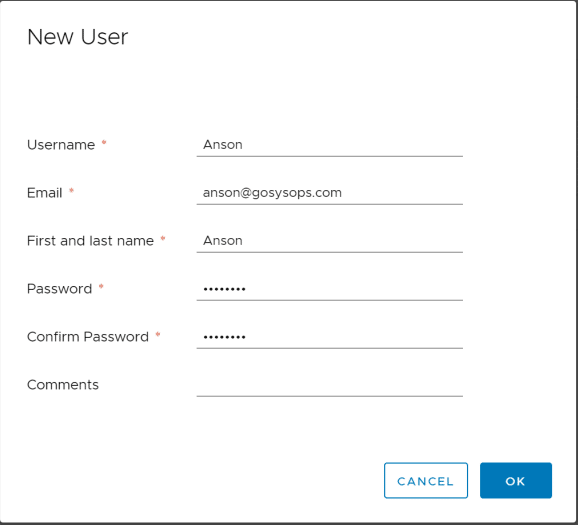
Create users
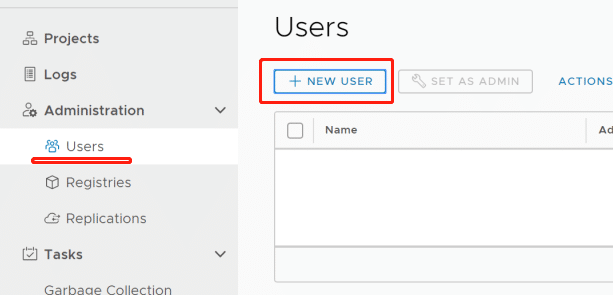
Input the basic information.
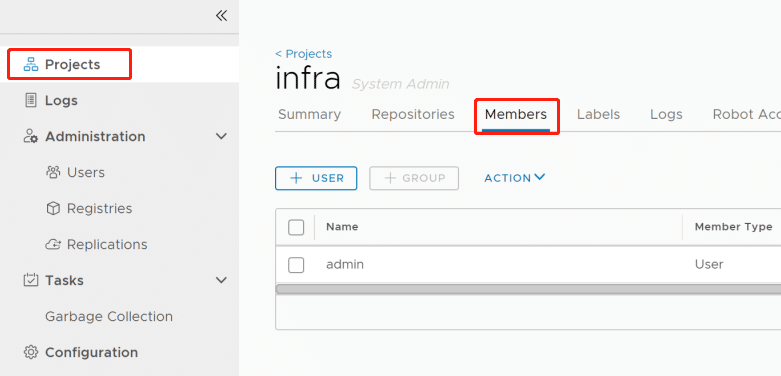
Add a user to be a member of group by clicking Projects->Members->User
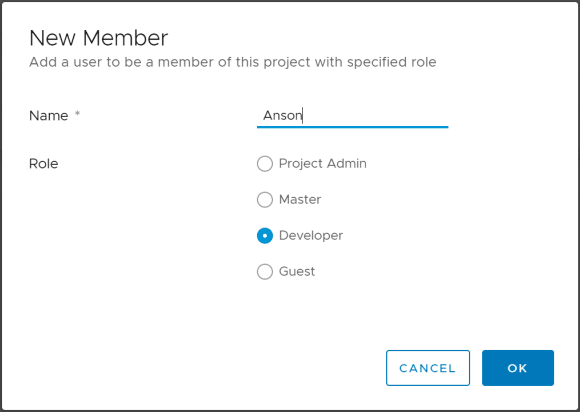
Assign role permission
Conclusion
In Part 4, we have successfully installed Harbor, creates self-signed certificates, and configured SSL for Harbor. Meanwhile, we have performed the basic actions, creating the project, users, and assigning user roles. all components are ready now, we are heading over code building in next part.